Thursday, March 31, 2016

Tuesday 29 March, 2016

David and I finished the Faring the bottom and sides. The transition looks very smooth

We also prepped the entire outside of the boat for finishing and painting. It looks good, you will be surprised. There are no more troublesome protruding screws

The only big fill areas will be the side spots in the middle of the boat where we did not know to cut the curve and the transom

The transom will need some crafty fill work but will look good if we take our time and do it right

The only area we did not prep is at the bow, we were thinking that we still may wrap the front with metal

Next step is mix the epoxy and do a “test fill” to see how it looks. If we like how it goes we can finish the entire outside of the boat

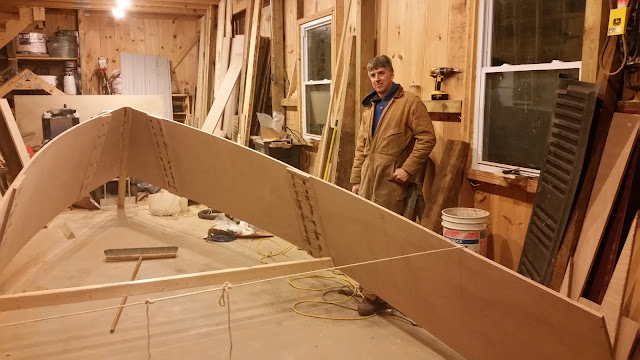
We should be able to flip the boat soon. I am going to start working a design on the ribs. Based on the picture


Our options are to glue some scrap Marine plywood together (about 3 layers) or we could get fancy and use some pretty lumber. We will need to discuss next time


Wednesday, March 23, 2016

Putting the Bottom on the Boat


Jim and Dave applying marine adhesive as team to attach the Chine to the side of the boat.

Note-- the Chine is a 20ft continuous piece of wood that must be bent to conform to the line of the boat.

Monday, March 21, 2016


Visiting Boat Builder 3/20/16
 
 
We had an interesting night last evening. Tim, Dave and I were working at fairing up the Chine on the bottom of the boat. Basically creating a flat surface null of voids to glue and screw the bottom to.
 
This went rather well..... with the use of a power planer and sander and a straight edge we made quick work of it.
 
 
We were not going to do much more but did decide to start on the 2x8 butt blocks used to fasten sections of the boat bottom together.  We made our first attempt and made a bad cut on the angle which left the board slightly short.  Did I mention that occasionally we have made a bad cut or two.
 
It was during the correction of that bad cut that we had an "Experienced" visiting boat builder join our presence.  To protect the innocent lets just say his name rhymes' with Squidly Speelman .
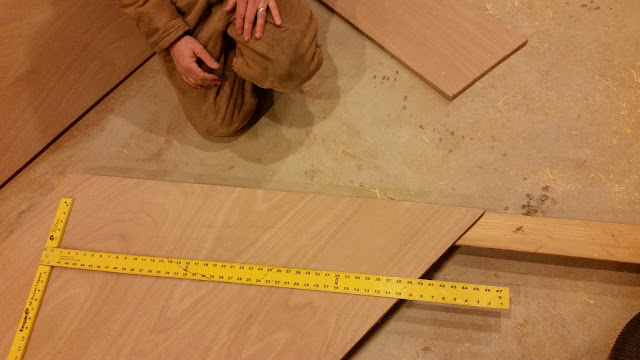
 
He quickly began to infuse the team with his vast knowledge of boat building. In shock and awe ATC style.  He honed us in on a fail proof cutting technique that would improve our current QC on these difficult cuts.  
 
I left the night with a realization.... maybe our team is not that bad after all.   It only took an expert and 12 linear ft of fir to learn it.


Thursday, March 17, 2016

Fellow guild members,

I checked the chines tonight and they are holding fast. If I fell energetic this weekend I may start doing some sanding on them so we can hit the ground running Wednesday night. That means we could start putting the bottom on without delay. Naturally, this will depend on the "honey do" list my wife will no doubt have for me by the weekend.

Also, I propose that our "historian", Mr. Jim Orndorf, start taking some notes on issues we have been experiencing. A deliverable I would like to see at the end of this project, other than a beautiful working boat, is a well documented SOP that we can use for the next boat we build. Naturally we could also offer it up to other boat building enthusiasts. Let's discuss this at our next boat building session.


Tim

Saturday, March 12, 2016

First stage of boat assembly ...


Assembling the Boat

We worked till late on Wednesday, March 9th and we are making good progress. We've made a few mistakes along the way but nothing that was too serious. Luck's been with us on a few wrong cuts as you will see below. The boat is now being assembled. There is lots of glue on the chimes and then we have to clamp and screw the wood to them.


Here are some pictures of the entire boat. Looking pretty good!


Next we have to cut chimes the length of the boat and hope they bend without breaking. We need to put an 18 degree angle on both sides the shape of a parallelagram. We checked, checked again and still messed up the cut. Tim did an excellent job cutting but I think it was the guy setting up the saw. But we had a horseshoe with us and our mistake was quite easy to correct. I think we're have to get back to the two man Q/A checks. We made the cuts as our last item to complete on Wednesday night and we're attach the chimes next week.


Does Jim really do anything?

A number of people have noted there are no pictures of Jim doing anything. So just to prove that he is building the boat, below are the two times over the past month he actually got his hands dirty. Thanks Tim for providing the evidence.


Thursday, March 3, 2016


David is grinding the stainless screw tips off both sides of the boat sides.


Tim using the belt sander to give the smooth finish to the sides.


The Hart boys working in unison .......they make a fine wood working team.


David grinding the flip side of the boat......note the shim between the sides to protect the bottom sheet from screw tips.


Tim is  examining the two sides clamped together ready to sanded to identical perfection.


We are ready to put the belt sander on the bottom edge to make a perfect boat.


An example of a section that Tim has sanded........looks like a single piece.


Laying out the first side......preparing to attach to the bow beam.


Tony putting in the stainless screws and glue attaching the first side to the beam.


Our first picture of the boat upside down with both sides attached to the bow beam.......Note we had to move the boat outside the barn to attach due to the natural bow angle and flare of the sides.


A magical thing happened......Tony attached a spanish windlass to both sides of the boat and pulled the ends together ....... Dave and Tim stood in amazement for over 10 minutes.   The cool thing was we were able to put the boat back in the barn.  It was cold tonight 3/2/16


We had a moment of doubt about the 7 foot 6 inch spacer that was called for the shaping of the boat.
This spacer or spreader is what makes the boat lines and creates the wide beam look.

We were all happy after the installation.